This article will show you how to Edit your .RDP file to allow for Printer and Drive Redirection.
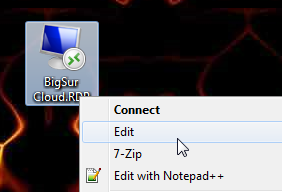
To make these changes, you will need to rightclick the cloud .RDP file and click EDIT.
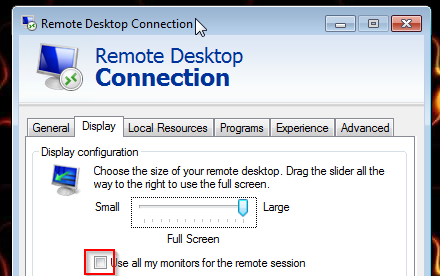
Have multiple displays, but the cloud isnt on all of them? Click on the display tab and check this box. Also, if your not running full screen, you can move the slider here. This also allows you to run the cloud in a window. The choice is yours.
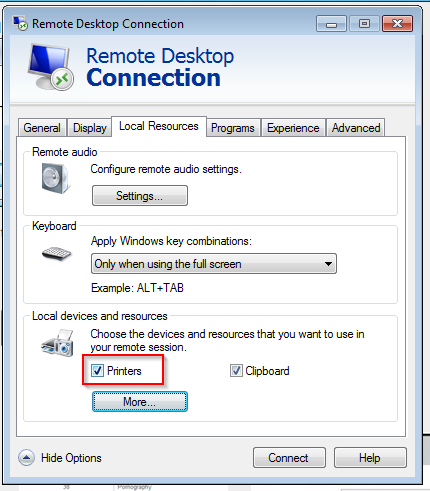
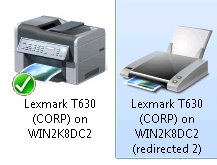
Now on the Local Resource Tab, Checking the printer box will allow your LOCAL printers to show on the cloud. Just please note, this means ALL Printers will appear. So lets say you have 6 Local Printers, and 10 Network printers. When you print – you will need to pick from the 16 Printers. Only turn this on if you need to. Also, when this is on your Default Printer on your local desktop will ALWAYS be your default printer. So make sure its one that you want to print. Even if you change it in the cloud, it will reset tomorrow. You will know when the printer setup is on yoru desktop when the printer name says “redirected” in the name.
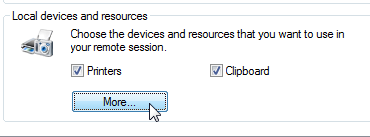
This one is a bit dangerous and I prefer you never use it, but I understand the desire to have it on. Click on the MORE button under the Printers box to allow your local drives to show on the cloud.
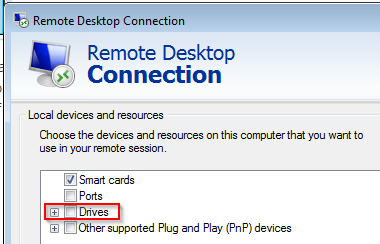
When in the “More” click the Drives. A check in the box means ON, No check means OFF.
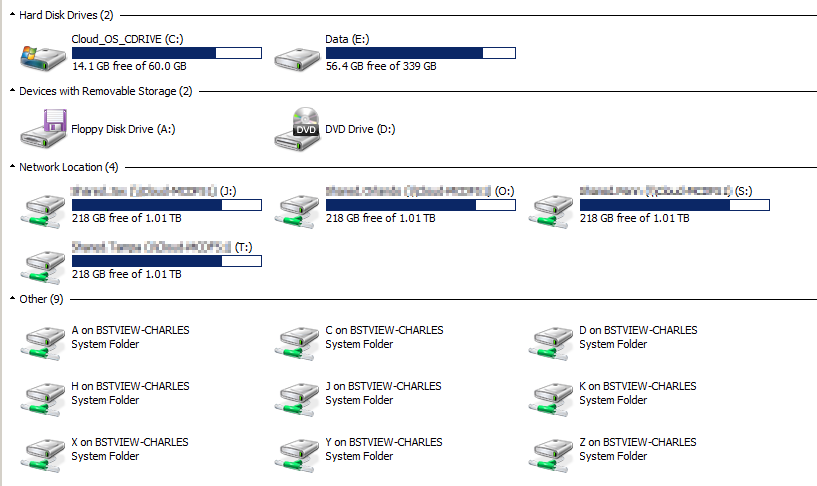
When you have that check box ON, you will see the “Other Drives” My PC is named BSTVIEW-Charles, so as you can see I can now see all of my drives from the Cloud Server.
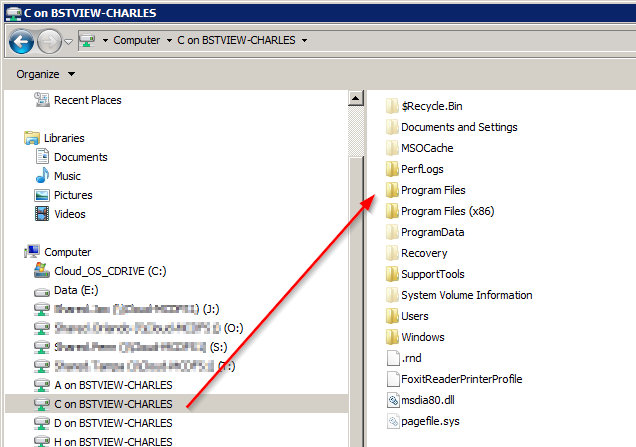
So Now when you click on your “C” drive you can see it. This is not really meant to get LARGE files. This is good for small batches of files.
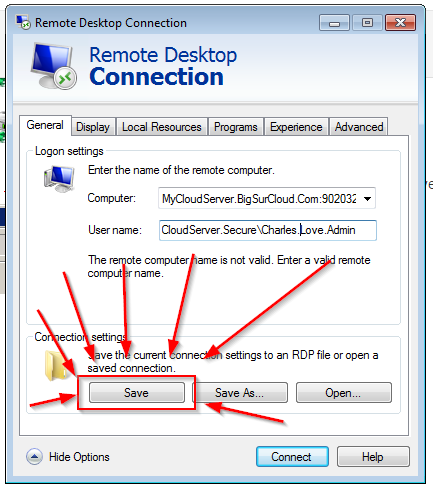
Super Crazy Important 🙂 – If you make ANY changes. Hit Save, other wise your settings will be set to one time and forgotton on reboot.
Here you can see that I right click it, and I see edit. This is because I am rightclicking the “Cloud.RDP file”